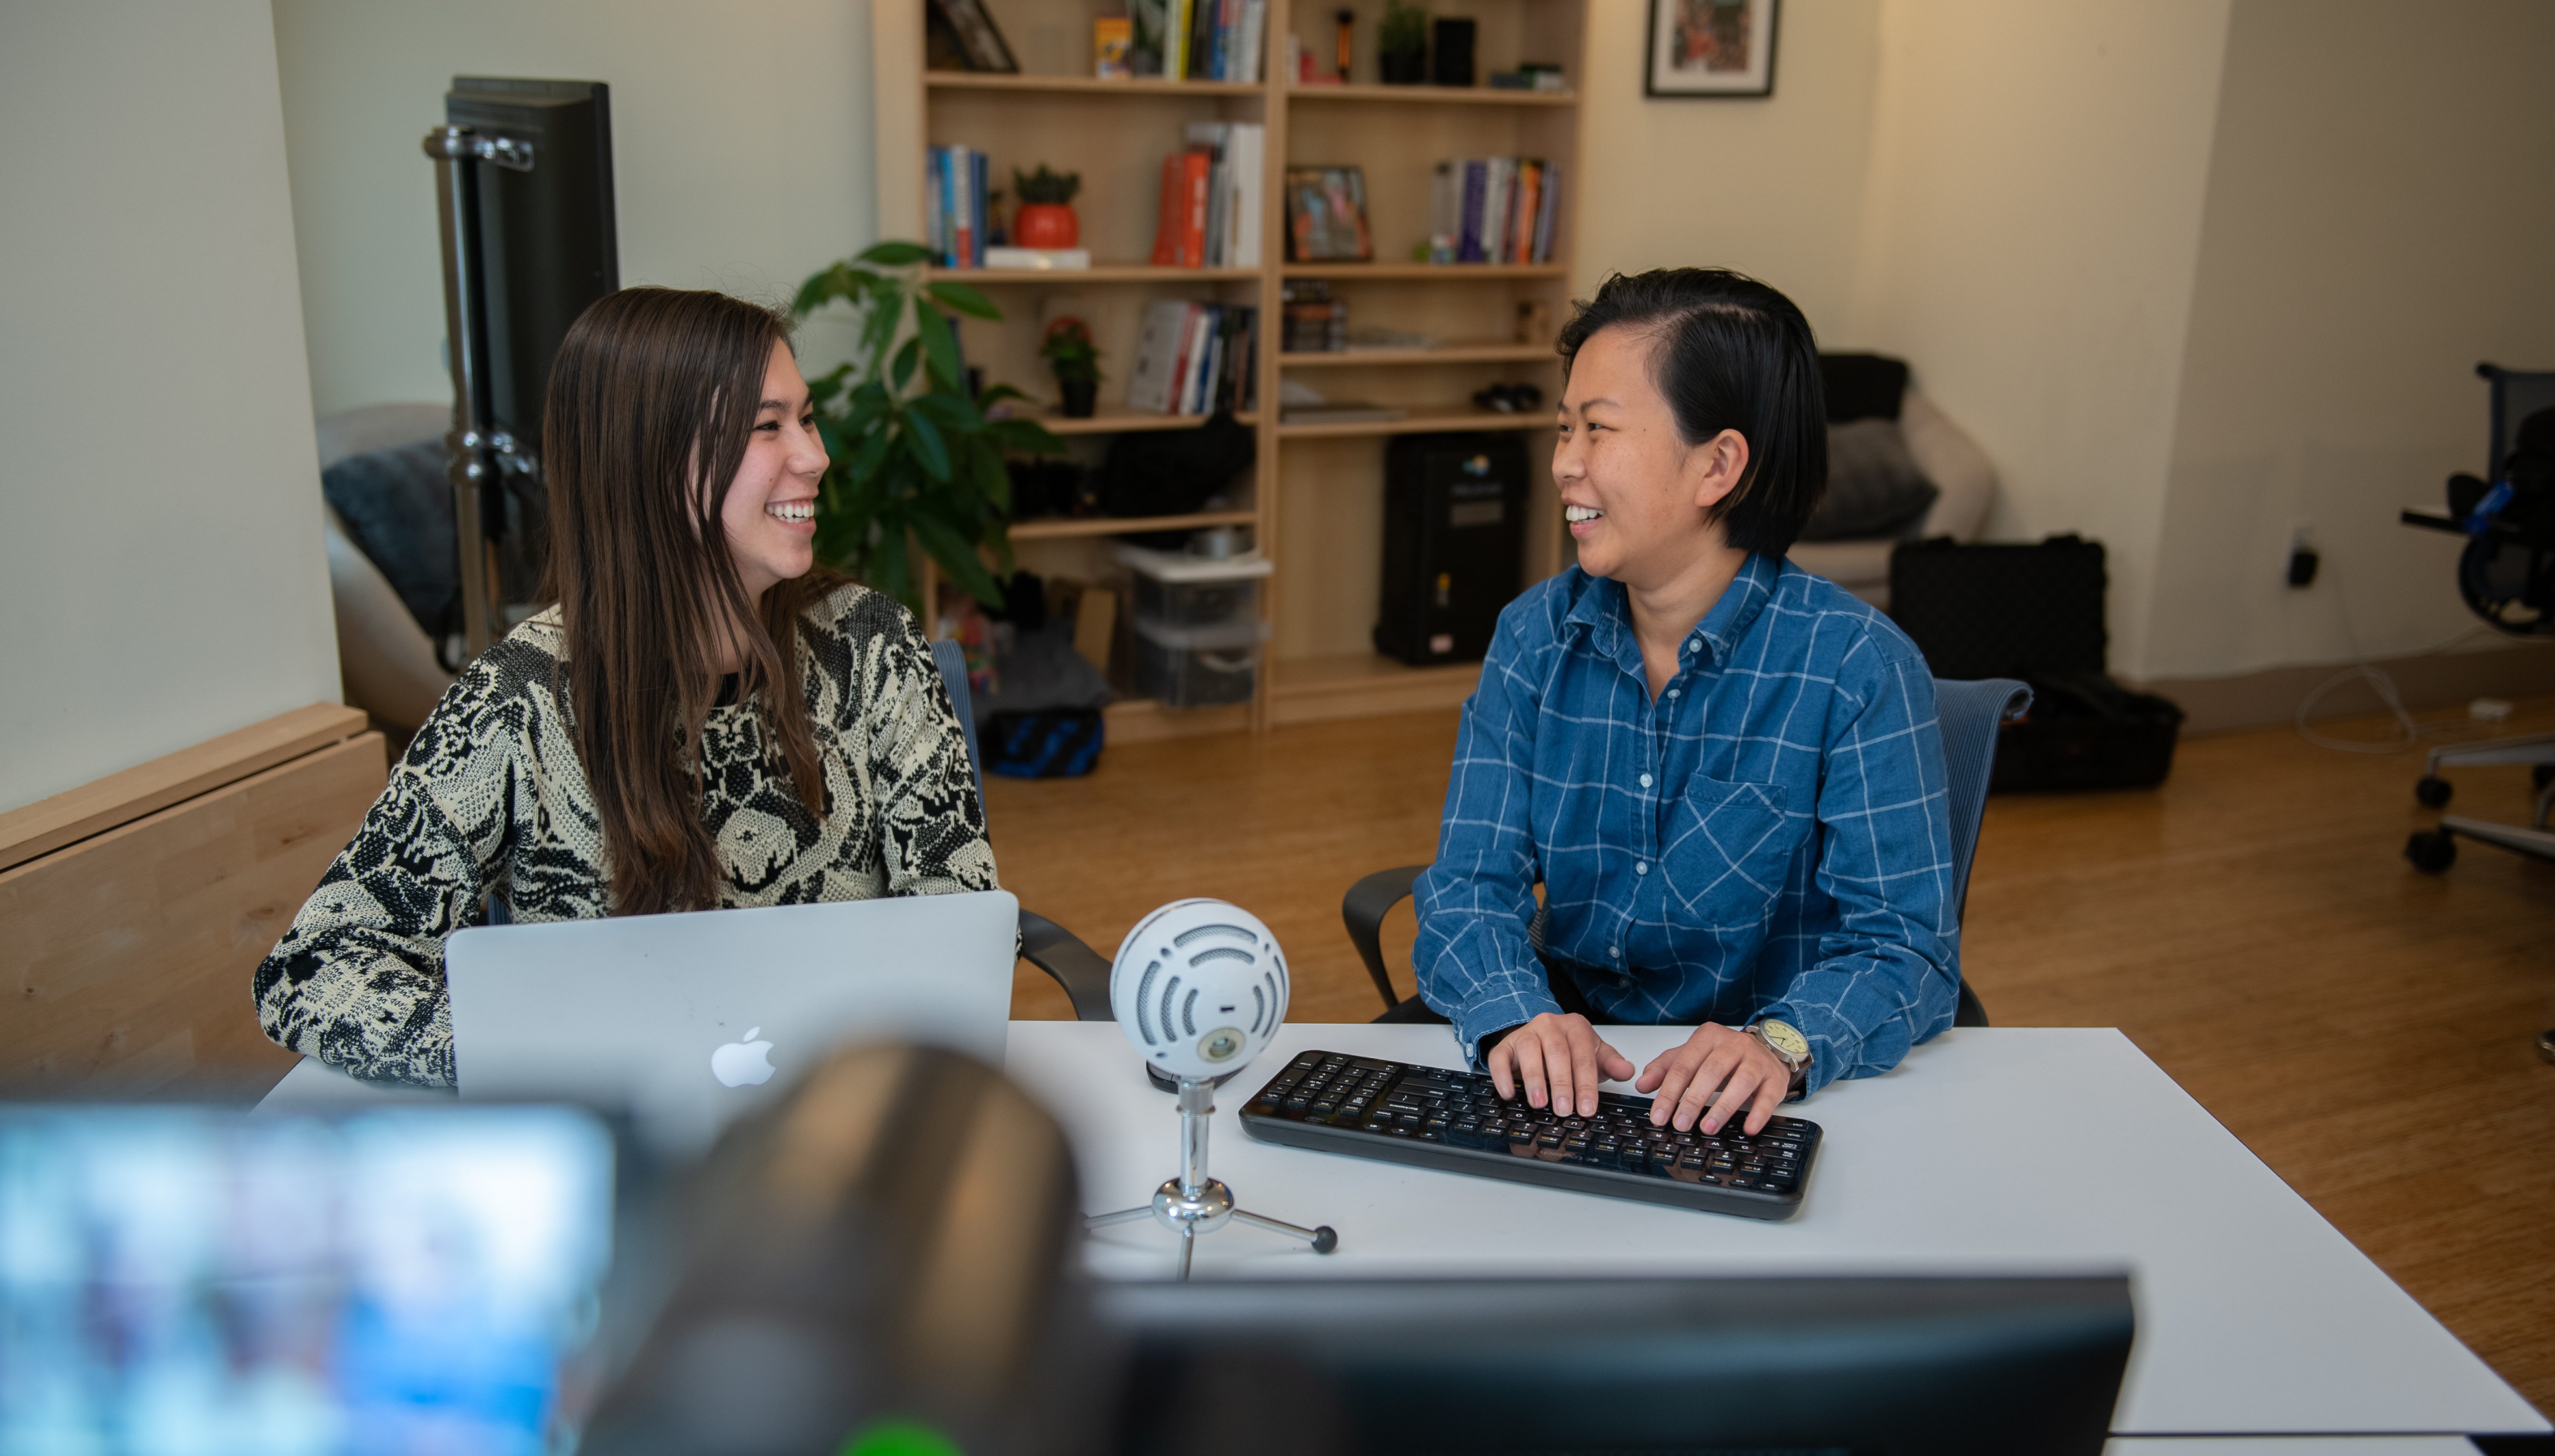
In preparation for our new Office Warming Party today, our creative team decorated our office with a special chalkboard mural. Check out our new time-lapse video documenting the creation of our chalk mural here:
Have you ever wanted to learn how to create your own time-lapse video? To learn more about how we created ours, read on to follow the five steps the TechChange creative team took to produce this video:
Step 1: Establish how long you want your final video to be.
We wanted to keep the video short and sweet at 1 minute.
Step 2: Figure out how long your time-lapse will last
Most videos run at between 24-30 frames per second. This means that for 60 seconds of final video, we would need a minimum of 1,440 still shots from the camera in order to fill each frame with a photo (24 frames/second x 60 seconds = 1,440 frames).
Step 3: Estimate how long it will take to film all the action you’re trying to capture.
We needed to make sure that Rachel, Pablo, and Alon would be able to finish in the amount of time that it would take our camera to shoot those 1,440 exposures. If we were to shoot at one-second intervals, our camera would only be running for 24 minutes. Now, our creative team is fast, but not that fast.
By estimating that it would take the team two hours (120 minutes) to complete the chalk mural, we can solve for 1,440* interval = 120 minutes to get that interval = 0.083 minutes, or about 5 seconds between shots.
Step 4: Set up your camera and film
To create the time lapse, we mounted our Panasonic GH3 onto a tripod and set it to take one photo every five seconds for 1,440 shots.
Step 5: Import your still image series into video and edit
After setting the camera to take these exposures, we imported the 1,440 stills into PremierePro by using the option to import an image sequence, rather than as individual stills. This import method is quick and matches one photo to each frame of the video sequence. Lastly, we cropped the video so that it would fill a 16:9 aspect ratio, added music, and edited in the TechChange logo animation.
Come check out the chalk mural in person tonight, May 7, 2014, at the TechChange Office Warming Party! RSVP here. We can’t wait to see you!


