Curious about learning with TechChange? Check out our upcoming class: Digital Organizing and Open Government. Class starts Jan 7! Apply Now.
Have you seen our latest video about TC104: Digital Organizing and Open Government?
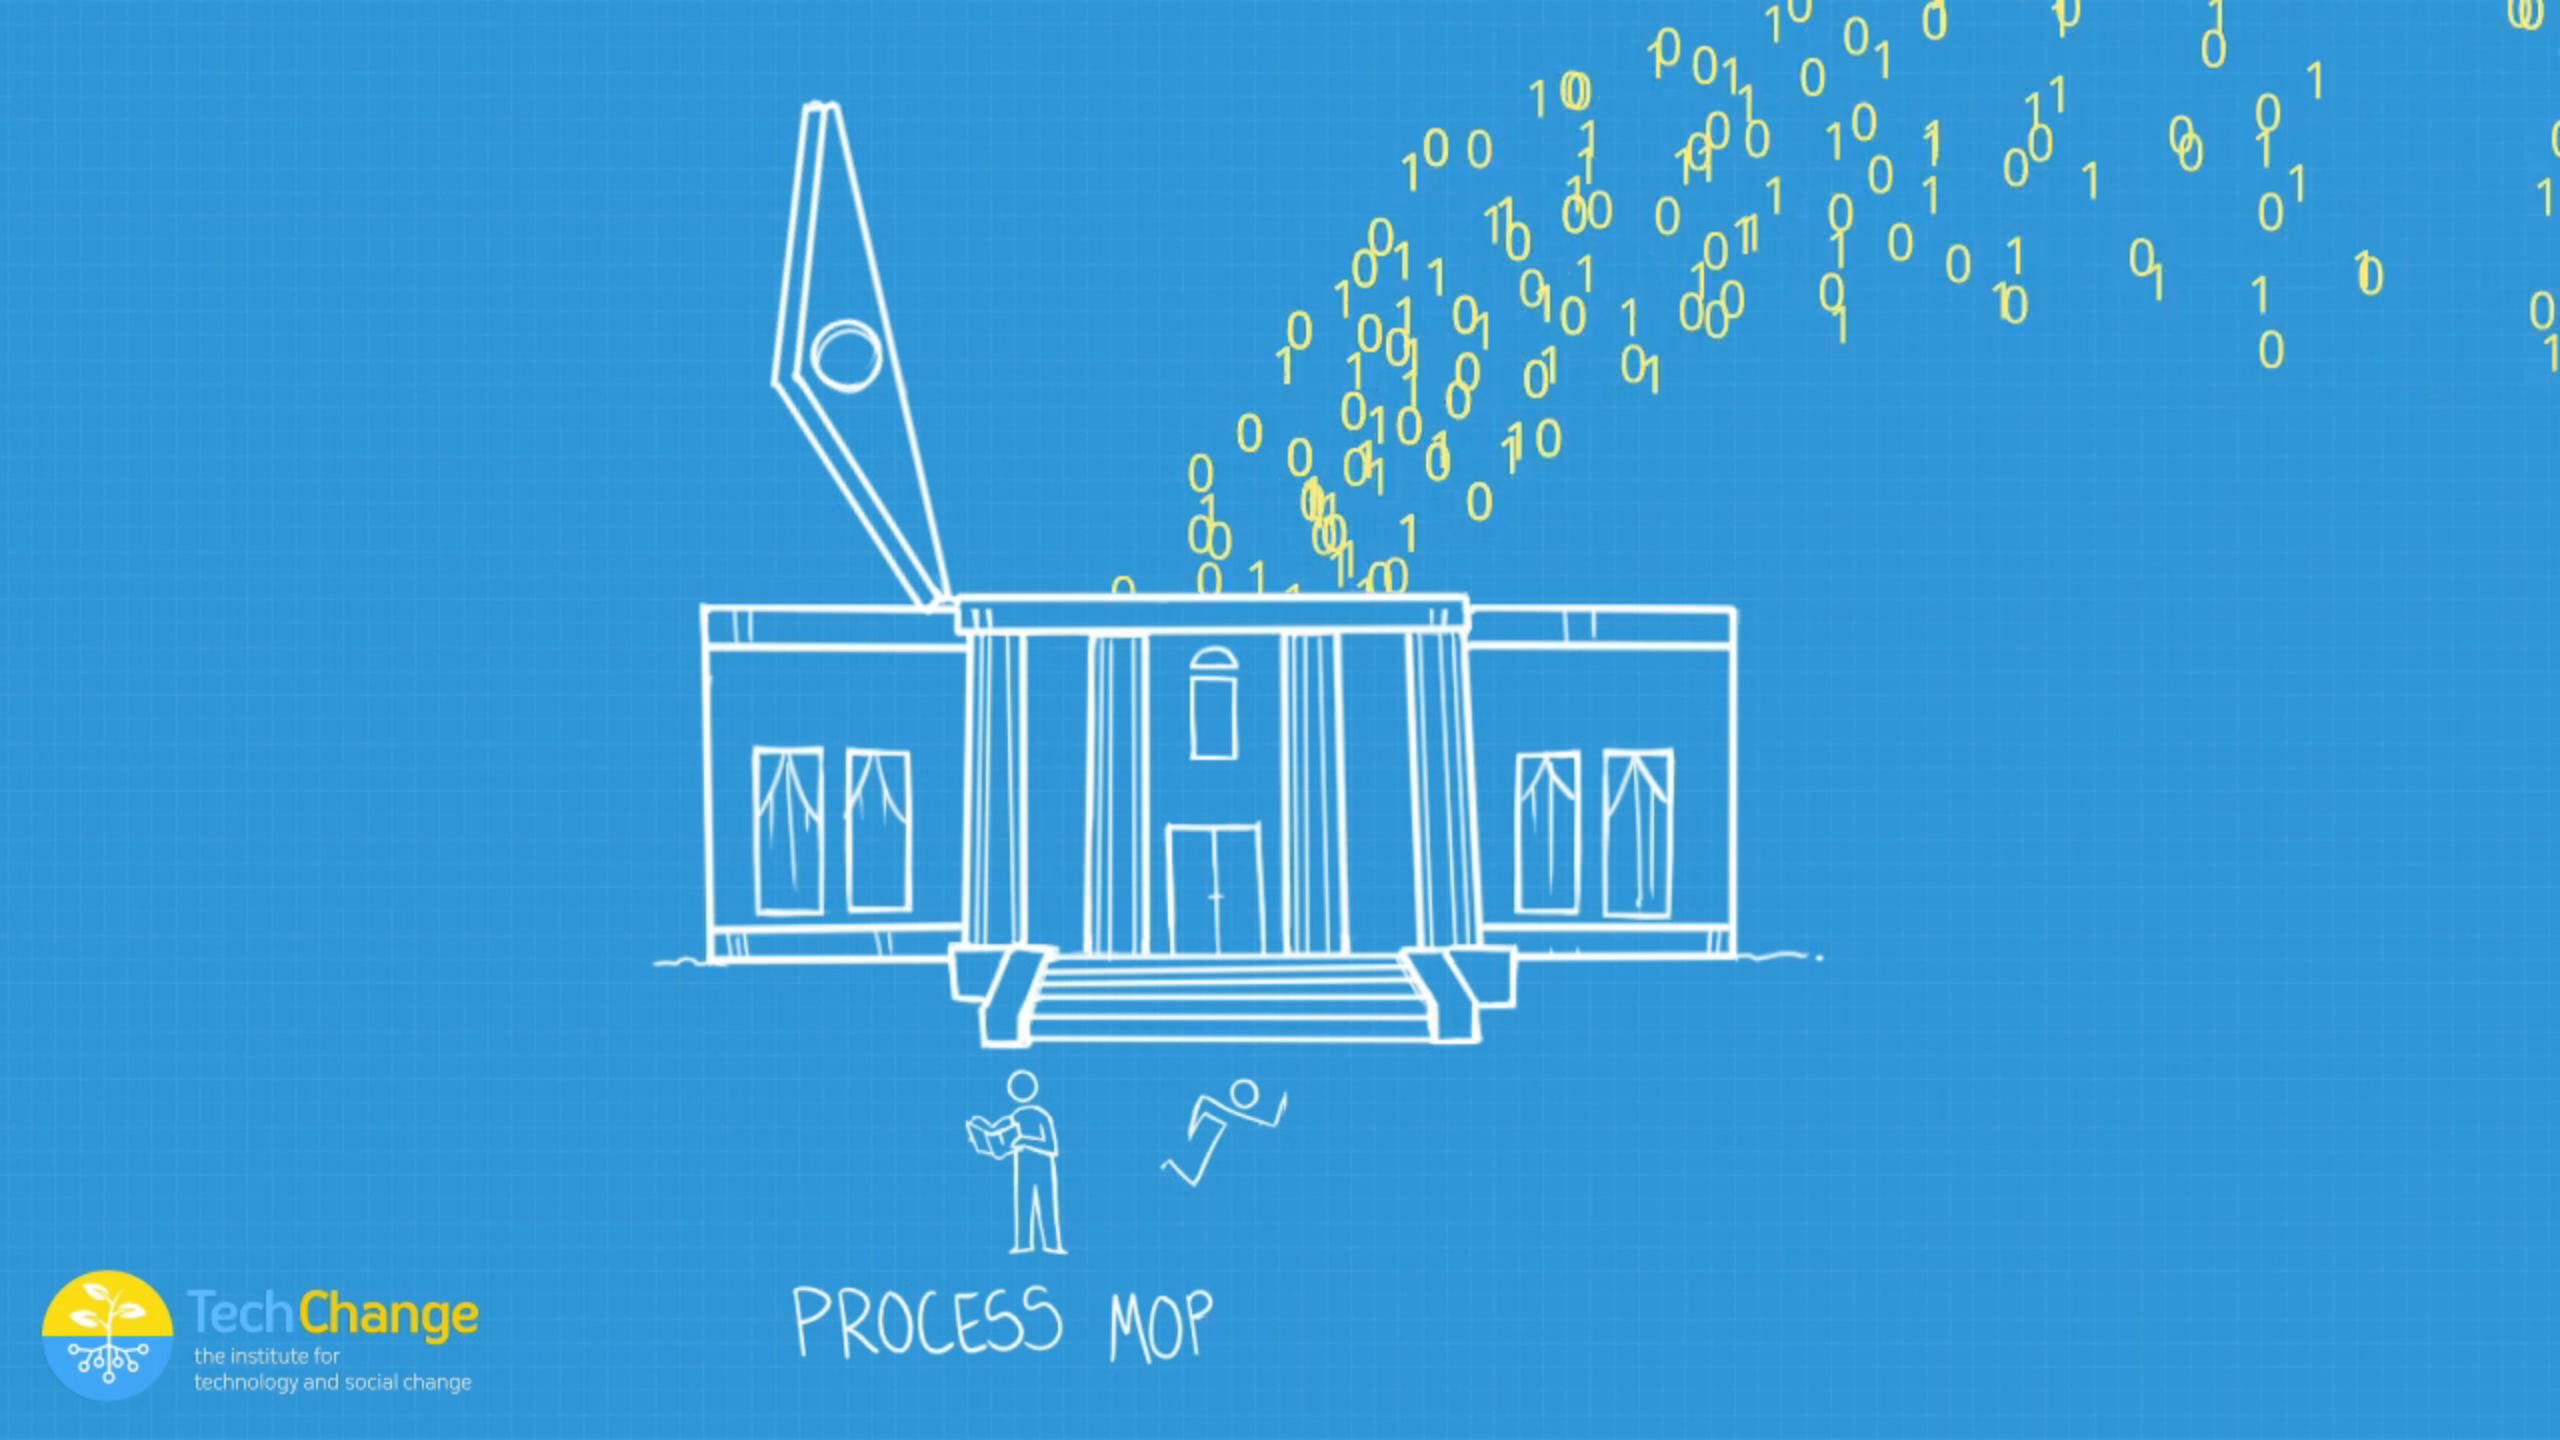
This may just be a simple ad for our course, but it also showcases a lot of what we can do to create a learning experience through video. We thought we could use this video as a chance to show the process we go through any time we make a video.
Step 1: Conceptualize
The first step to producing any video is developing the content for it. Whether you’re dealing with a fictional narrative or factual documentation, whether your movie is thirty seconds or ninety minutes, the first and most important step will always be figuring out the story that you are telling. We meet as a team – and with clients – to go over in detail exactly what information needs to be conveyed, and we develop a visual narrative around those ideas, drawing on the shared talents of our educators, tech experts, graphic designers, and video producer/editor (me!). From this collaborative process, we develop a script and produce a storyboard of what the final video will roughly look and flow like.
Step 2: Drawing/Filming
Once we have the concept fully fleshed out, we get to work on building the pieces we use for the final video. Our incredibly talented graphic designers draw the different pieces and make adjustments based on feedback; some of these pieces are fairly simple drawings, others are highly detailed and contain multiple frames of action that will ultimately get animated. Additionally, at this stage we produce a high quality audio track of the script, as well as potentially doing any live-action filming that is required (most commonly in front of a green-screen).
Step 3: Animating/Editing
Once we have the pieces made, we begin to assemble them together. Drawings are animated primarily using Adobe After Effects. First basic motions are mapped in time with the audio, and then more complex effects are added, such as sub-compositions/animations, lighting effects, motion effects, or anything else that’s needed. Generally, the animating phase begins while the drawing phase is still underway, so that if any problems arise with our original ideas for the video, we can easily and efficiently make adjustments. For example, in our TC104 video, we decided to flesh out the bike metaphor used near the beginning when the visual narrative around that section seemed weak, and it was a simple matter of drawing a few additional pieces and animating them into place.
Step 4: Revisions
The animation culminates in the production of a rough draft of the final video that is then reviewed first by the entire TechChange team. Here’s the rough draft we produced for TC104:
After any changes, we then go over a revised draft with the client. We carefully weigh their feedback to make a final round of adjustments to the video, and then we are done!
Key Takeaways
There are a few key lessons about this process that are worth highlighting and remembering:
- The strength of the concept/story will carry over to the strength of the video. Having a strong script and audio track early in the process makes the whole process smoother.
- Producing animations is a collaborative process. The input of experts and clients is extremely valuable, and our creative team is very talented and flexible in working to achieve the strongest possible video. Having multiple perspectives throughout the process is incredibly valuable, because viewers of the final product will have a wide range of perspective, too.
- Producing animations is fun! It is an effective and easy way to uniquely convey any information to the entire world!
Hopefully this post has been an insightful look into our process. Please contact us with any questions about our process, or if you’d like us to help you produce videos!


